Photographing the northern lights in Yellowknife
A good aurora photo from Yellowknife no longer needs expensive gear, but it does need a steady hand and a warm battery. The cold causes more failed shots than the settings do. This guide covers phones and cameras at minus 30, and which tours take the pictures for you.
Phone or camera?
Recent phones with a night mode can record a bright aurora surprisingly well. They gather light over several seconds and combine the frames, which turns a pale band into a clear green arc. For many visitors a phone and a small tripod are enough.
A camera with manual controls still does better on faint displays and wide skies. It also lets you set focus and exposure yourself instead of trusting the phone's guess. If you already own one, bring it, but a phone alone will not leave you empty-handed.
Either way, the lights must show up first. The aurora is never guaranteed, and our guide to reading the aurora forecast explains why clouds decide most nights.
Getting a phone to see the aurora
Switch on night mode and hold the phone still for the whole count, or better, set it on a small tripod. A cheap phone tripod with bendable legs fits in a pocket and grips a fence rail or a snowbank.
Turn off the flash and tap the screen on the sky to focus. If the phone lets you choose a longer night exposure, compare a few lengths. Pictures often look brighter than the sky did, which is normal.
Keep the phone in an inside pocket between shots. Batteries drain fast in the cold, and a phone can shut down at full charge after a few minutes in bare air. A small power bank kept warm against your body is a sensible backup.
Camera settings as a starting point
Treat the numbers below as a starting point and adjust once you see the first frame. Every display is different, and a bright, fast aurora needs less light than a faint, still one.
- A wide lens so the arc and the landscape both fit
- Manual focus set to infinity (test it on a bright star with the screen zoomed in)
- ISO 1600–3200
- The widest aperture your lens allows
- Exposures of 2–10 seconds, shorter when the lights move quickly
- A tripod and the self-timer, so pressing the button does not shake the frame
Short exposures keep the shapes of moving curtains sharp, while longer ones smear them into a soft glow. When the sky suddenly brightens, drop the exposure time before you raise anything else.
Cold batteries and fogged lenses
Camera batteries lose power quickly at minus 20 or below. Carry two or three spares in an inside pocket and swap them as they fade, since a cold battery often recovers some charge once it warms up again.
Your own breath is the next problem. Breathing near the lens or the viewfinder leaves a film of frost, so turn your head away as you shoot. Bare fingers on cold metal hurt fast, and thin liner gloves help with the buttons.
Condensation is the risk at the end of the night. A cold camera carried into a warm bus or building fogs up inside and out. Put it in a closed bag before you go indoors and let it warm slowly before opening it.
Red light, not white
A headlamp is useful on snowy ground, but a white beam ruins your night vision and lands in everyone else's long exposures. Choose one with a red mode and keep it pointed down.
The same goes for phone screens, which glow brightly in the dark. Turn the brightness down, and you will see the faint edges of the aurora much better once your eyes adjust.
What the tours photograph for you
All four tours we compare send you home with pictures, which takes the pressure off if your own gear struggles. Yellowknife Vacations, from ~$62, has a professional photographer on board its bus, and the listing says plainly that it does not charge for pictures.
Destination NWT, from ~$98, also brings a professional photographer and gives you the original digital files at no extra cost. Aurora Bus Tours, from ~$69, lists professional photos as included.
The cabin tour, from ~$101, works differently. Its guide promises at least 3–4 good shots per guest, taken on a high-end phone and sent to you after the night, and the Viator listing mentions costumes for fun pictures.
A photographer on the bus, pictures free
From ~$62, Yellowknife Vacations takes up to 16 people along the Ingraham Trail to three stops with a professional photographer aboard. Rated 4.8 from 430+ reviews on Viator and 4.7 from 290+ on GetYourGuide. Both sites let you cancel free until a day ahead, though the lights are never guaranteed.
Framing the shot
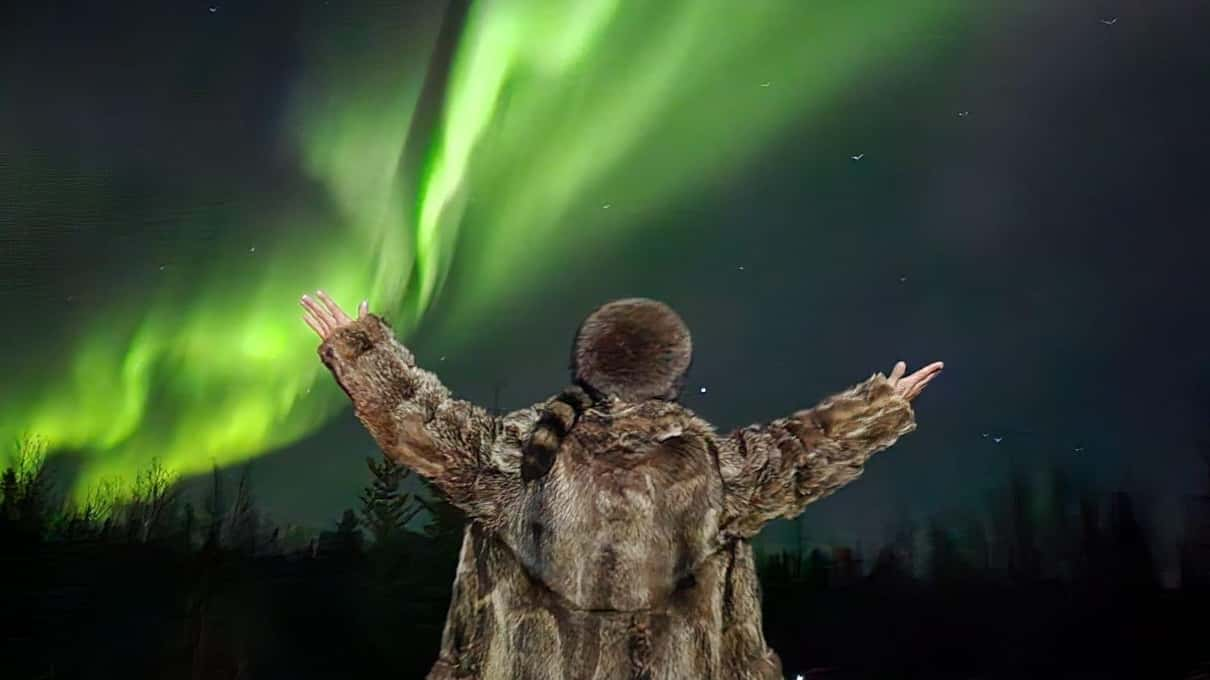
A photo of green sky alone gets dull quickly. A spruce treeline or a frozen lake gives the aurora scale, and so does a cabin roof or a friend standing still. The lakes along the Ingraham Trail offer wide, open foregrounds in winter.
For a portrait under the lights, ask your subject to hold still for the whole exposure while someone lights their face briefly and softly. The tour photographers do this all night and are happy to explain how.
Standing behind a tripod for an hour is cold work, so dress for it with our guide on what to wear at minus 30. Families can read aurora nights with kids for keeping small hands warm between shots.